How to Change DNS on PS4 and PS5

| Step | Instructions |
|---|---|
| Step 1: Access Settings | From your PS5 home screen, look towards the top-right corner for the ‘Settings’ gear icon. Click on this to access your console’s settings menu. |
| Step 2: Navigate to Network | Scroll down through the settings menu until you find ‘Network’. Select this to access your network options. |
| Step 3: Select Network Settings | Within the ‘Network’ menu, there will be an option labeled ‘Settings’. Select this to open the network settings menu. |
| Step 4: Set Up Internet Connection | Now, you will see an option that says ‘Set Up Internet Connection’. Click on this to begin the process of changing your DNS. |
| Step 5: Choose Your Connection Type | Here, the PS5 will ask you whether you’re using a Wi-Fi or LAN (wired) connection. Select the option that applies to your current setup. |
| Step 6: Proceed to Advanced Settings | After selecting your connection type, you will be taken to a new menu. Look for and select ‘Advanced Settings’. |
| Step 7: Open DNS Settings | Within ‘Advanced Settings’, there will be an option labeled ‘DNS Settings’. Select this to proceed to the next step. |
| Step 8: Switch to Manual Setup | You will see two options under ‘DNS Settings’: ‘Automatic’ and ‘Manual’. Select ‘Manual’ to manually input your desired DNS settings. |
| Step 9: Enter DNS Addresses | You are now able to input the Primary and Secondary DNS. The values will depend on your preferred DNS server. For instance, Google’s public DNS uses 8.8.8.8 as the primary DNS and 8.8.4.4 as the secondary DNS. |
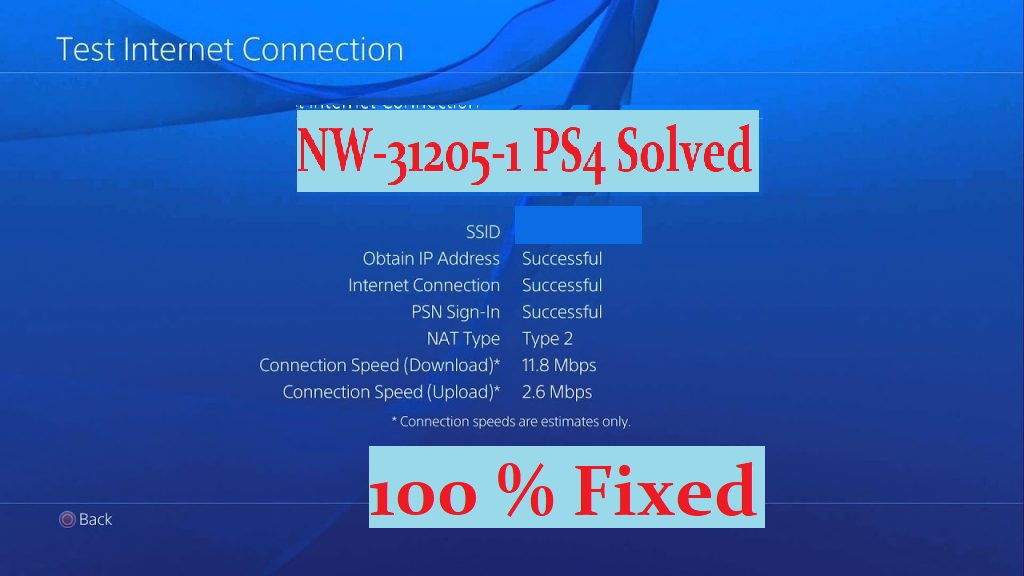
| Step 10: Save and Test Connection | After you have entered the DNS values, click ‘OK’ to save your changes. You will then be prompted to test your internet connection to ensure your PS5 is online and working correctly. |
Common Questions and Answers
| Question | Answer |
|---|---|
| 1. What is a DNS? | DNS stands for Domain Name System. It’s like a phonebook for the internet, translating human-readable web addresses (like www.example.com) into machine-readable IP addresses (like 192.0.2.0). |
| 2. Why would I want to change my DNS settings on my PS5? | Changing your DNS can potentially improve internet connection speed, reliability, and security. However, results can vary based on location and ISP. |
| 3. What are some popular public DNS servers? | Some commonly used public DNS servers include Google DNS (Primary: 8.8.8.8, Secondary: 8.8.4.4), Cloudflare (Primary: 1.1.1.1, Secondary: 1.0.0.1), and OpenDNS (Primary: 208.67.222.222, Secondary: 208.67.220.220). |
| 4. How do I know if changing my DNS improved my PS5’s internet connection? | After changing your DNS settings, you can perform an internet connection test on your PS5. This will provide information about your connection speed. If the speed has improved, the DNS change has likely been beneficial. |
| 5. Can changing DNS settings harm my PS5 or internet connection? | No, changing DNS settings won’t harm your PS5 or your internet connection. If you find the changes are not beneficial, you can easily revert to the original settings by selecting ‘Automatic’ under DNS Settings. |
| 6. Do I need to change my DNS settings if my games are running fine? | Not necessarily. If your games are running smoothly and you’re satisfied with your current internet speed and stability, there’s no urgent need to change your DNS settings. However, you can experiment with different DNS servers to see if they bring any improvements. |


changing DNS on ps4 that worked. Good man